Quickstart
This quickstart will help you learn how to create an app plugin using SE2. Along the way it'll also introduce some of SE2's key features:
- Managing development environments
- Managing user access
- Using the plugin editor
Preliminary steps
- Create an account on our admin dashboard
- Check out our language support page to see a list of languages and their respective support statuses for SE2
Let's go! 🚀
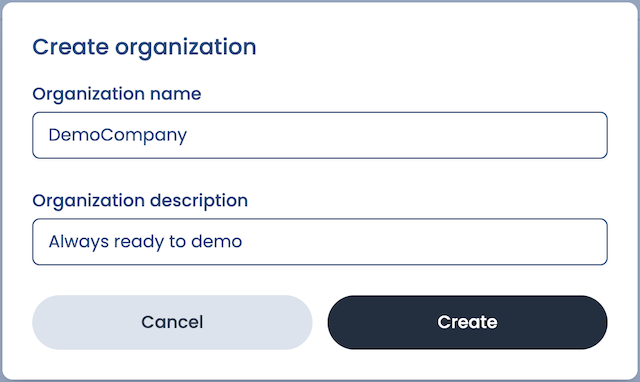
Create an organization
This is a new account, so we'll need to create our first organization: a (potentially shared) account in which one or more users manage(es) their Suborbital subscription . For this demo, we'll give our organization:
- The name
DemoCompany(note: organization names can contain only letters, numbers, and underscores) - The description
Always ready to demo
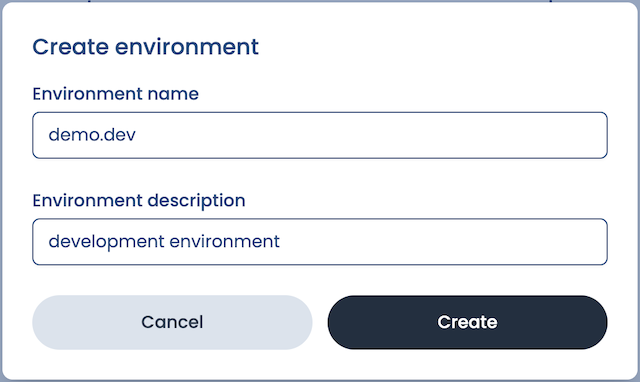
Create an environment
We can set up multiple separate environments for each of our organizations. These could be used for separating development/staging/production environments or to create different applications for distinct use cases.
Let's set up our first environment for development! We'll give it:
- The name
demo.dev - The description
development environment
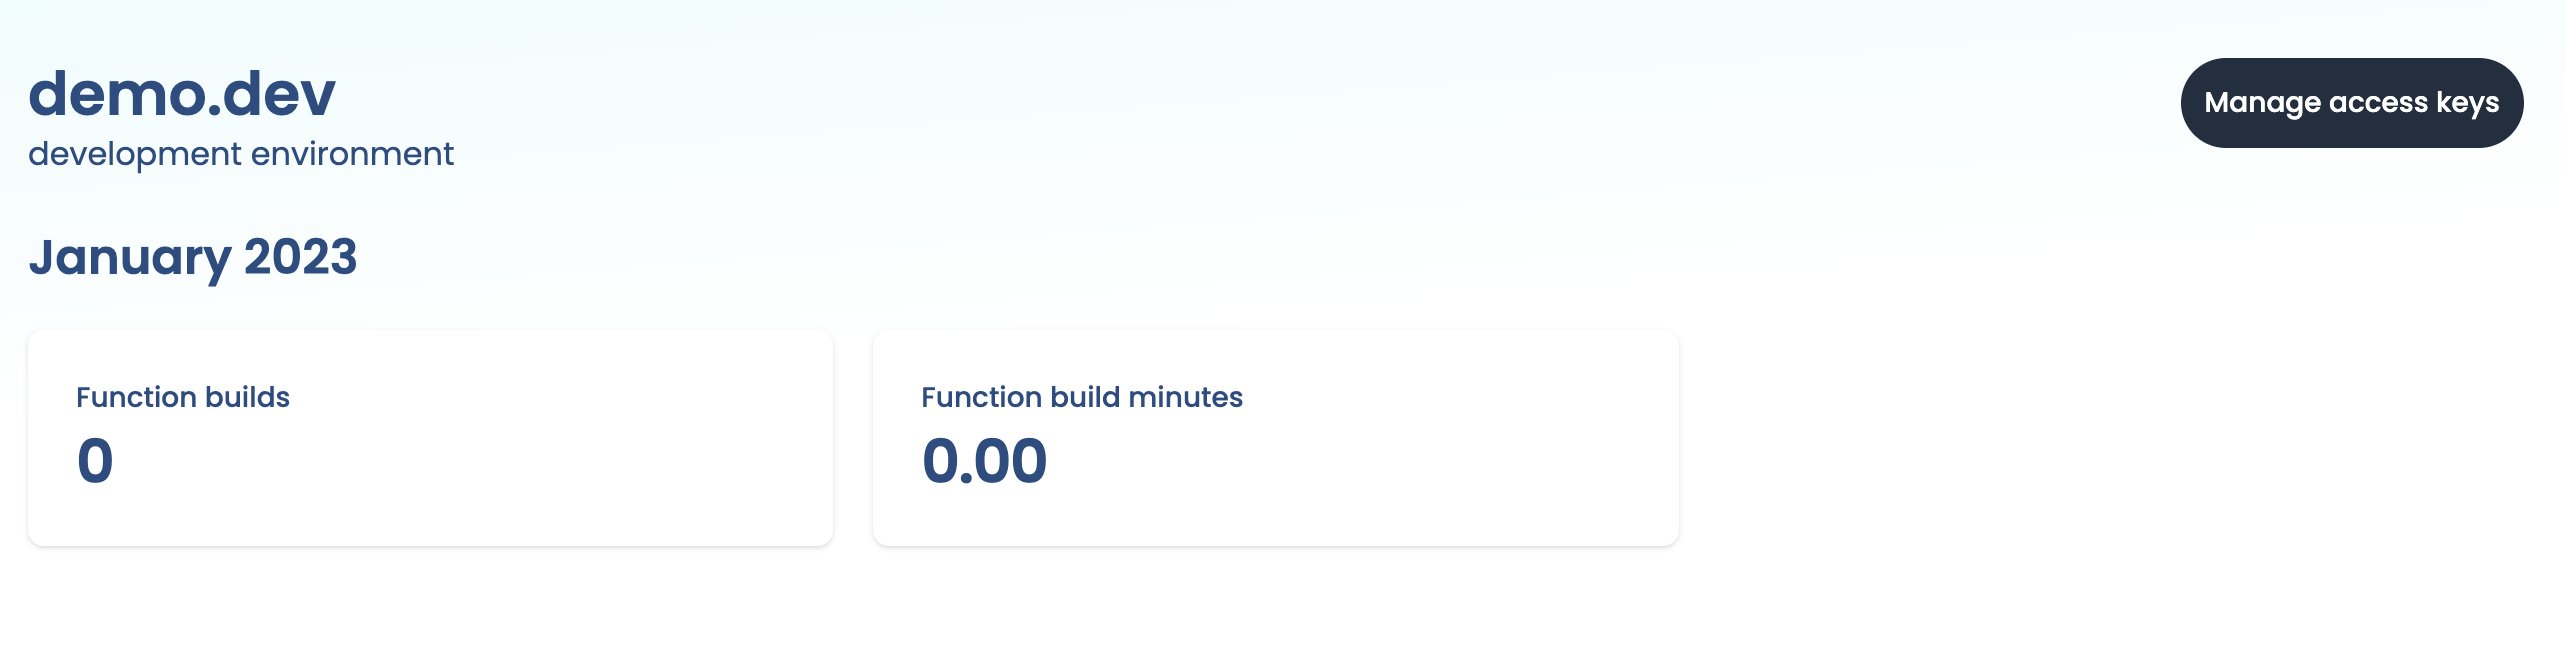
Once we've created our environment, we'll be shown our environment's dashboard. The dashboard contains information about various usage metrics related to the Extension Engine.
Here we can see a counter for plugin builds and build minutes. Both of these are currently 0 because we still need to set up our first integration.
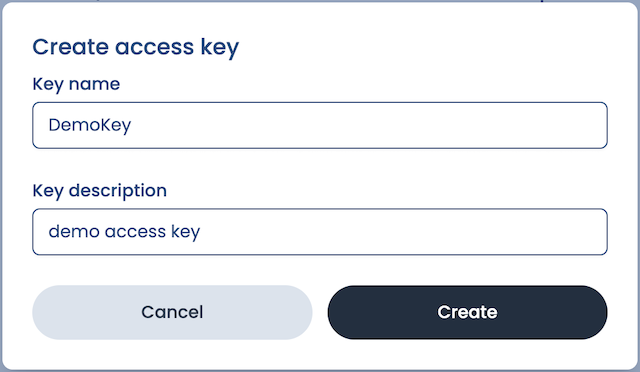
Create an API key
Next, we'll need to create an API key. We'll click on:
- Manage API keys
- Create new API key
Our integration will use this API key to provision resources and execute plugins in SE2. We'll give our API key:
- The name
DemoKey - The description:
demo API key
We'll only be shown this API key once, so we'll need to store it somewhere safe and secure!
Using the SE2 SDK
SE2 provides client libraries for Go and Node.js. Start by installing the client:
- Using Go
- Using JS
$ go get github.com/suborbital/se2-go@latest
npm install @suborbital/se2-node
Next, initialize the client with your API key:
- Using Go
- Using JS
package main

import (
  "log"

  "github.com/suborbital/se2-go"
)

func main() {
  // Here, we've provided the API key via the `API_KEY` environment variable.
  apiKey, ok := os.LookupEnv("API_KEY")
  if !ok {
    log.Fatal("api key is not set in the API_KEY environment variable")
  }

  client, err := se2.NewClient(se2.ModeProduction, apiKey)
  if err != nil {
    log.Fatalf("encountered new client error: %s", err.Error())
  }

  // client is now ready to use
}
import { Suborbital } from "@suborbital/se2-node";

// Here, we've provided the API key via the `API_KEY` environment variable.
const suborbital = new Suborbital(process.env.API_KEY);
Create a tenant (user)
Suborbital lets an application's users create their own secure, sandboxed plugins, carefully isolated from the core of the system and one another. For this reason, we will create a new tenant, which is a user account with its own plugins inside Suborbital. Our application will then connect the tenant with one of its own internally-maintained users. Typically, you'll want to use your system's unique ID for the user as the name of the tenant.
- Using Go
- Using JS
- Using cURL
func main() {
  tenant, err := client.CreateTenant(ctx, "tenantName", "tenantDescription")
  if err != nil {
    log.Fatalf("create tenant failed: %s", err.Error())
  }
}
const tenant = "<user ID>";
await suborbital.admin.createTenant({ tenant });
$ curl --request POST \
  --url https://api.suborbital.network/environment/v1/tenant/newTenantName \
  --header 'Authorization: Bearer <api token here>' \
  --header 'Content-Type: application/json' \
  --data '{
  "description": "string"
}'
Meet the editor
The SE2 plugin editor uses SE2's APIs from either Go or JavaScript/TypeScript to provide a low-friction environment for your users to write, build, test, and deploy plugins to your SE2 an instance in a single place. Alternatively, the Builder API can be used programmatically, if that better suits your use case.
Obtain a session token
To grant a user access to modify a plugin, you'll need a session token. A session token is bound to a single plugin, and you'll create new tokens each time a user needs access to a plugin. To obtain a session token:
- Using Go
- Using JS
- Using cURL
func main() {
  session, err := client.CreateSession(ctx, "tenantName", "namespace", "pluginName")
  if err != nil {
    log.Fatalf("creating session failed with %s", err.Error())
  }

  // To use the session token in a further call
  draft, err := client.CreatePluginDraft(ctx, "javascript", session)
  if err != nil {
    log.Fatalf("creating plugin draft for javascript failed: %s", err.Error())
  }
}
const params = {
  tenant: "<user ID>", // the user this plugin belongs to
  namespace: "<namespace>", // the plugin's namespace
  name: "<plugin name>", // the name of the plugin
};
const token = await suborbital.admin.createSession(params);
$ curl --request POST \
  --url https://api.suborbital.network/environment/v1/tenant/newTenantName/session \
  --header 'Authorization: Bearer <api token here>' \
  --header 'Content-Type: application/json' \
  --data '{
  "namespace": "newNamespace",
  "fn": "newPluginName"
}'
# {"token": "<session token here>"}
Editor URLs in production
To edit a plugin via the editor in a production environment, you—or more likely your application—must build a valid URL to pass to the editor.
- Using React
- Using a browser tab
React version goes here
Configure the URL like so:
- Domain:
https://editor.suborbital.network/ - Query parameters:
template: the name of the template you wish to usetoken: The session token you created above
Altogether, it should look something like https://editor.suborbital.network/?template=javascript&token=<session token>
Your first plugin
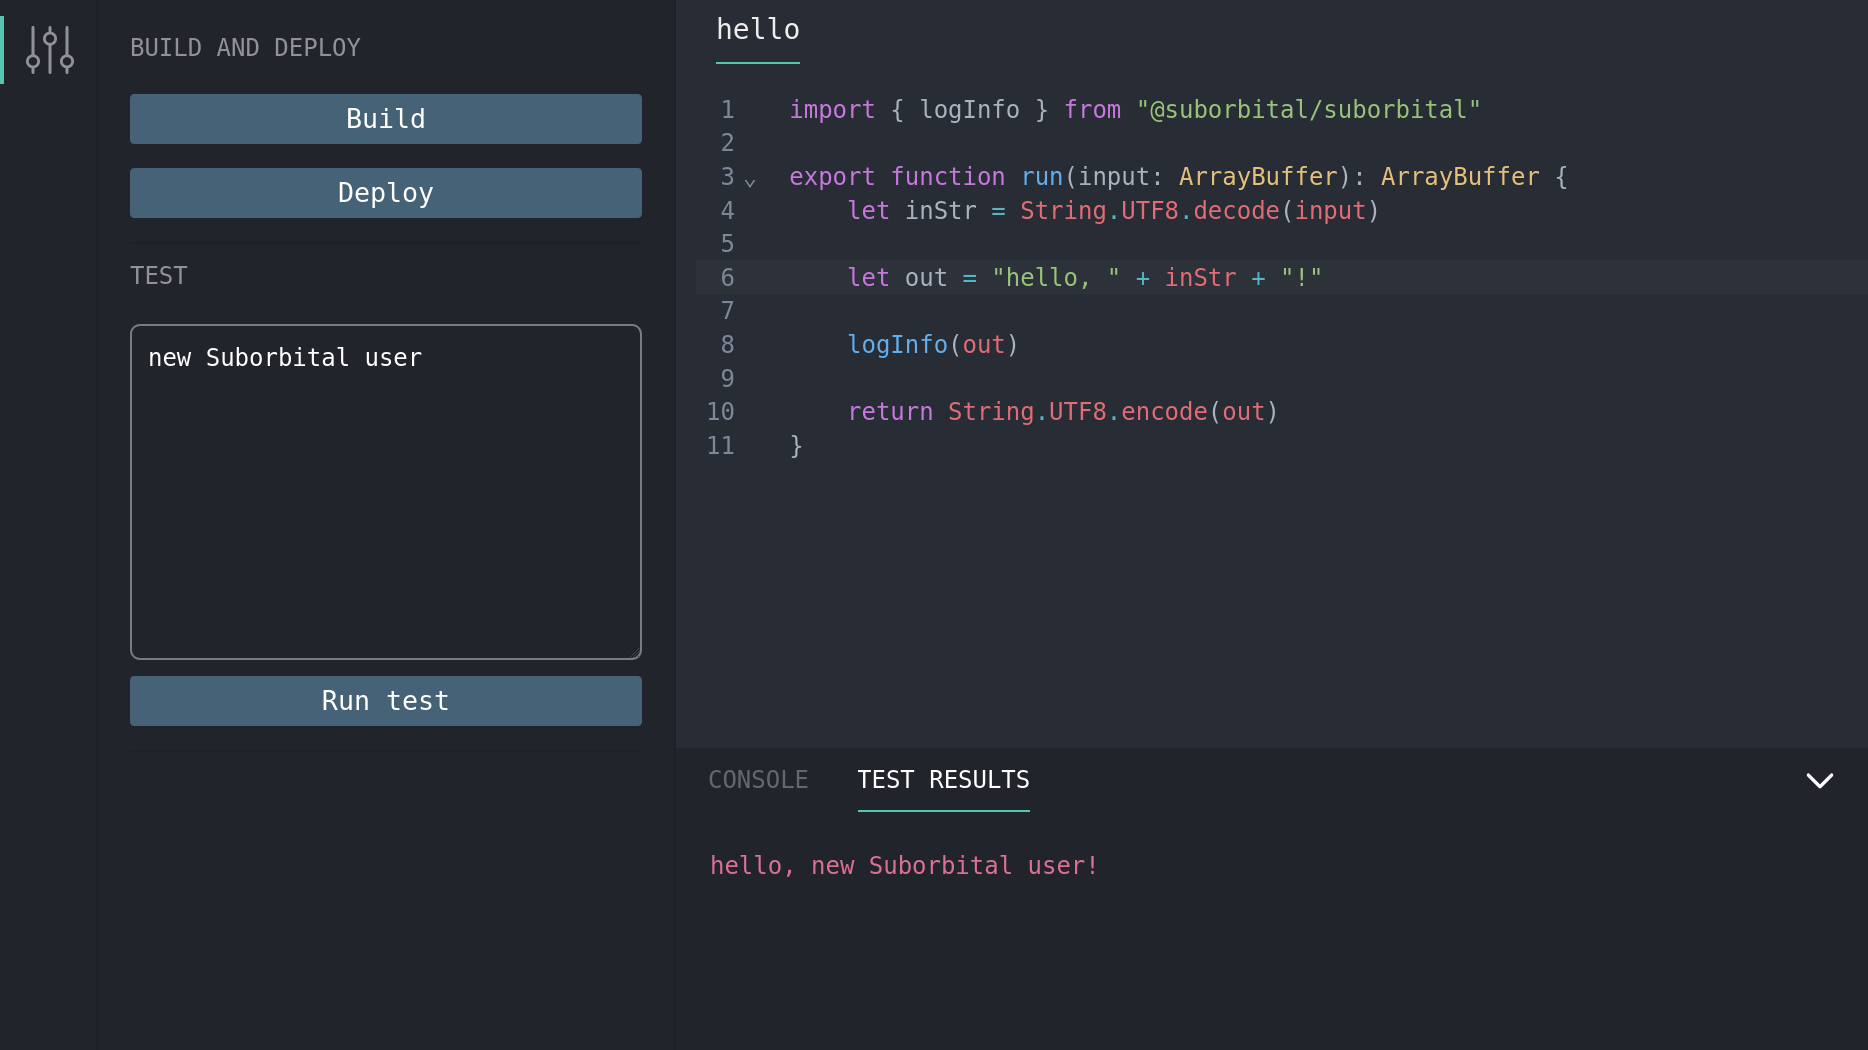
Paste the URL you created above into your browser to load the plugin editor. Once inside the editor, you can edit, build, test, and deploy your plugins all in one place! By default, the editor will load pre-populated with the greeting plugin below. You can use it to run the editor for the first time.
import { log } from "@suborbital/runnable";

export const run = (input) => {
  let message = "Hello, " + input;

  log.info(message);
  return message;
};
- The plugin provided is complete, so we can just click "Build"
- In the "TEST" field, add some text. Here, we've added "new Suborbital user"
- Click "Run test"
- Toward the bottom of the editor, click "TEST RESULTS". There's our greeting!
Executing plugins
Once your first plugin has been built and deployed, it can be run with a request to the Execution API.
- Using Go
- Using JS
- Using cURL
func main() {
  response, err := client.Exec(ctx, []byte(`my friend!`), tenantName, namespace, pluginName)
  if err != nil {
    log.Fatalf("executing plugin failed with %s", err.Error())
  }

  fmt.Printf("result of running the plugin is '%s'", string(response))
}
const params = {
  tenant: "<user ID>", // the user this plugin belongs to
  namespace: "<namespace>", // the plugin's namespace
  name: "<plugin name>", // the name of the plugin
};
const result = await suborbital.exec.run(params, "my friend!");
console.log(result.result); // hello, my friend!
$ curl --location 'https://edge.suborbital.network/name/<tenantName>/<namespace>/<pluginName>' \
--header 'Authorization: Bearer <api token here>' \
--header 'Content-Type: text/plain' \
--data 'my friend!'
# hello, my friend!
What else can I do?
Now that you've know how to get SE2 extensibility powers into your app, you might want to:
- Learn more about using SE2's APIs from either Go or JavaScript/TypeScript
- Make custom plugin templates and libraries to help your users get started building their own plugins for your app
- Organize your users' plugins into namespaces for different use cases
Questions?
If you have any questions you can't find answers to in these docs, please email us at team@suborbital.dev!